
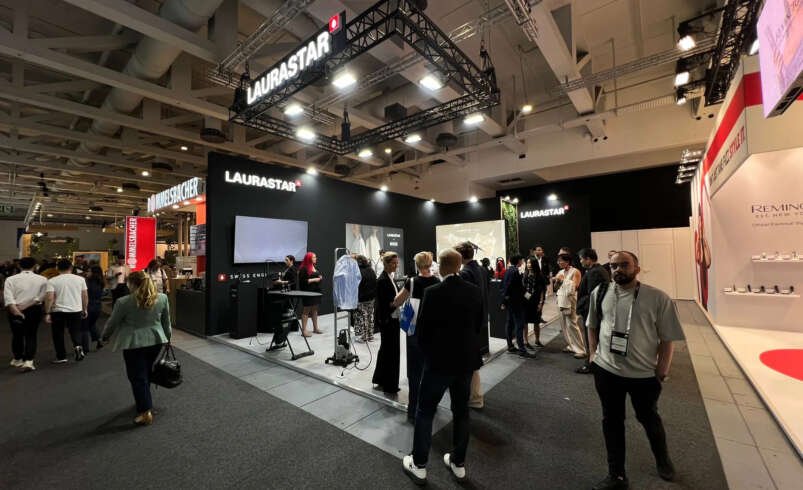

If you attend several events each year, you know the pain. Every show has a different floor size, a different crowd, and a different set of rules. Building a new booth for each one burns through your budget and eats your time.
There is a better way. Build one exhibit as a flexible system, not a single fixed structure. When the frame, graphics, counters, and storage are planned for repeated setup from day one, you spend less on fabrication and have fewer headaches on the road.
A portable display is easy to carry. An adaptable exhibit is built from a set of modules with tested layouts. Many Trade Show Booth Builders in USA offer systems like this, with reusable frames, tool-free setup, compact shipping, and graphics you can swap without touching the structure.
Start With a Master Grid
Begin with the smallest space you use most often. For most brands, that is a 10×10 or 10×20. Then plan add-on modules that grow the base into a 20×20, a peninsula, or a full island.
Here is the key: your 10×10 should look like a complete booth. It should never look like a leftover piece of something bigger.
A Trade Show Booth Design Company in Chicago can help you build this grid. They will size walls, towers, headers, and counters in repeating widths that match standard graphic panels. Adding a new bay then extends your booth without a redesign.
Use the Two Configuration Rule
Every major part should work in at least two layouts. A ten-foot back wall, for example, can serve as a full 10×10 backdrop, half of a 10×20 wall, or a side wall in a 20×20 island. Use standard connection points at corners and joints, not one-off custom pieces.
Keep Structure and Graphics Separate
Think of your booth in three layers. The structure is the aluminum frame, towers, bases, and load-bearing connections. The surface is the fabric, panels, laminates, or acrylic that covers it. The content layer is your printed fabric, screens, literature holders, and campaign signs.
When these layers stay separate, you can change your message without rebuilding the booth. Tension fabric gives you a fresh look on the same frame. If you are comparing a trade show booth rental in the USA, ask whether the provider builds this way.
Protect the Parts That Wear Out First
Some parts take a beating at every setup. Think frame joints, leveling feet, graphic channels, zipper edges, counter hinges, casters, wiring, and case interiors. Ask your builder about load ratings, connector strength, and how to replace a graphic. Do this before you sign for any Chicago exhibit Rentals.
Tool-free connectors help too. They speed up install and teardown, which matters when the clock is ticking on the show floor.
Plan Every Layout Before You Build
Map out each floor plan early. That means the 10×10 inline, the 10×20 inline, the 20×20 corner or island, and any bigger layout you might need later. Give each one its own drawing with a parts list, electrical runs, graphic placement, sightlines, storage spots, and setup steps.
Case studies show why this pays off. Elevation3D reverse-engineered several layouts for NEC Display Solutions and tested each piece. The result was one brand look that scaled from the biggest space to the smallest without losing impact. Ask your builder for the same planning, and put it all in a booklet so your crew never has to guess.
Know How Each Booth Type Differs
Inline booths are simpler, but back wall height and neighbor sightlines matter. Corner spaces have two open sides, so both must look planned. Peninsulas need smart traffic flow and have visibility limits. Islands need 360-degree branding, their own structural support, and careful planning for lighting, overhead items, and utilities.
What to Know About McCormick Place
If your calendar includes Illinois, read a full McCormick Place Convention Center Guide before you plan anything. The venue has strict rules on fire safety, materials, engineering, and union labor.
Fire Safety Rules
All booth construction and decoration materials must be fire retardant. Fabrics need to meet NFPA 701. Other materials must meet NFPA 703 and UL 1975. Keep printed fire certificates in the booth so you are ready if the fire marshal wants to test something.
For a reusable booth, that means every graphic, fabric skin, laminate, and add-on needs documented fire performance. Do not assume a piece passes just because it cleared another venue in another state. If you are shopping for Trade Show Exhibit Rentals In Chicago, get the fire certificates from your provider in advance.
Structural Review
Booths with a ceiling or a second level need blueprints stamped by a licensed structural engineer. The plans must include exact dimensions and an isometric drawing. Send them to the McCormick Place Fire Safety Division and the Chicago Fire Department Fire Prevention Bureau at least 60 days before the show opens. If you run a double deck, document the structural basis for each layout early. Do not leave it for the last week.
Fire Equipment and Rigging
Enclosed areas under a ceiling or second level need UL-approved battery-operated smoke detectors. That includes small storage closets. You also need a visible, easy-to-reach 2.5 pound ABC fire extinguisher for every 500 square feet of enclosed space. Add both items to your trade show exhibitor checklist.
Never block security cameras, fire exits, emergency strobes, lit signs, fire cabinets, or sprinklers. Do not hang anything from the fireproofed venue beams. If you need rigging, submit your rigging plan at least 30 days ahead.
Union Labor Basics
Carpenters handle uncrating, installation, dismantling, cabinetry, shelving, flooring, structural signs, and re-crating. Riggers handle uncrating, positioning, and re-skidding heavy machinery. Items that need special tools to release straps call for rigging labor. Every solid trade show marketing guide should cover this split, because it affects your budget and schedule.
Real Examples of Modular Flexibility
Nomadic Display helped a fast growing health tech company that needed a 10×10 for private investor talks one month, then a 20×20 with demos, monitors, and meeting zones soon after. With a modular rental plan, they swapped backdrops, layouts, and messaging without paying for new construction. Their look stayed consistent at both events.
ThinkGeek wanted a 400 square foot exhibit its own staff could set up without union labor. Their builder used pop-up structures, aluminum frames, fabric graphics, acrylic shelves, lockable storage, and a custom front railing. Because it was modular, they added 200 square feet later for a product contest.
QuicklyShow reported on an electronics exhibitor who attended three shows in one year with the same 10×10 lightbox booth. They reused the frame, LED lighting, lit reception counter, and travel cases. They replaced the fabric graphics only once, when the message changed, and saved thousands of dollars.
Mistakes to Avoid
The biggest mistake is designing a gorgeous booth for just one floor plan. Keep a master parts list and a documented layout for every footprint you expect. Standardize bay widths, hardware, graphic channels, and accessory mounts so pieces can mix and match.
Treating graphics as permanent is costly too. Use tension fabric or swappable panels so a new message does not need carpentry. Plan for shipping wear as well, with durable connectors, protected edges, labeled cases, foam inserts, and a packing diagram.
Never assume a booth is compliant everywhere. Recheck height limits, fire codes, electrical rules, and rigging limits before every show. Also keep one recognizable element, like a tall header or lit graphic, in every size so your brand stays consistent.
Staff Your Booth and Capture Leads
A flexible booth only pays off if your team uses it well. Smart trade show booth staffing matters as much as the hardware. Train your people on each layout so they know where demos, meeting zones, and storage sit. Put your best talkers at the front and give everyone a clear role.
Plan lead capture at trade show events before you ship a single crate. Decide how you will scan badges, tag leads, and follow up within days. Build a spot for it into every configuration so it never gets lost when the floor plan shrinks.
Count the Real Cost
A well-built reusable exhibit cuts repeat fabrication, graphic fees, shipping volume, and setup time. That only holds if you reconfigure the booth instead of rebuilding it each season. Some vendors price a reconfigurable 10×20 at around $25,000 and note that it splits into two 10×10 booths.
Vendor numbers are only a starting point. Your real savings depend on how many shows you attend, how complex your booth is, and your shipping routes. Case count, weight, and local drayage all hit your recurring budget.
Build once, plan every layout, and check every venue rule. Do that, and your brand will look sharp on every show floor.